Glass Reparing

Foggy or Cloudy Window Glass: Why the Seal Fails

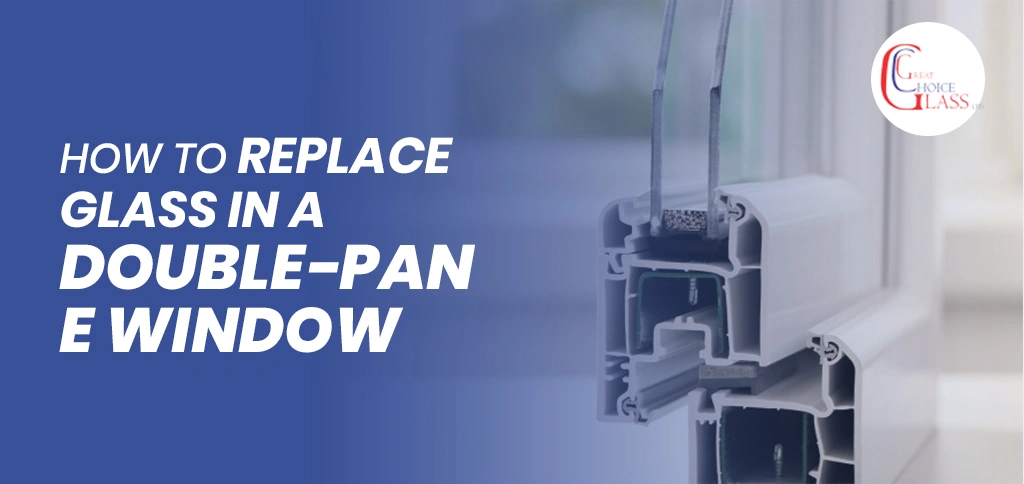
How to replace glass in a double-pane window

By Saleem Khan, Owner, Great Choice Glass · Updated October 28, 2026

Foggy window glass and seal failure go together: a cloudy or foggy look between the panes of a double-pane window means the seal around the insulated glass unit has failed, not that the glass is dirty. Moisture gets trapped between the panes, and no amount of cleaning clears it from the outside. The glass itself still blocks weather, but the insulating gap it’s built for no longer works correctly.

Structure of Double-Pane Windows.

A double-pane window keeps its two glass layers apart with a sealed air gap, and that gap is what insulates. A perimeter seal is what keeps the gap closed off; moisture gets in once that seal fails. Fogging is the most common sign of a failed seal, and a cracked or broken pane is the other main reason a double-pane window needs its glass replaced.

Some units are filled with argon or krypton gas instead of plain air, for a stronger insulating effect.

Replacing the Glass: What It Involves.

Tools for glass window replacement

For anyone considering replacing the glass themselves, here’s what the job involves, including the safety steps and tools it takes.

Safety Measures.

  • Examine the area for any possible hazards before starting.
  • Wear safety gloves and glasses to protect against broken glass.
  • Cover broken glass with cardboard until it’s replaced.
  • Don’t stand or walk over broken glass.
  • Use proper lifting technique to carry glass panes.
  • Have someone assist with the task.
  • Stay aware of the surroundings throughout.

Tools for Glass Window Replacement.

  • Chisel
  • Duct tape
  • Caulking gun
  • Heat gun
  • Glass cutter
  • Eye protection
  • Safety gloves
  • Paintbrush
  • Paint scraper
  • Wire brush
  • Putty knife
  • Rubber mallet
  • Tape measure

Materials needed:

  • Replacement glass
  • Fine-grit sandpaper
  • Glazing points
  • Glazing compound or putty
  • Linseed oil or wood sealer

Step-by-Step Process to Replace the Glass.

Step 1: Prepare the work area. Remove curtains or furniture near the window and clear the space. Lay a sheet of plastic over the floor for protection, and open the window for ventilation before gathering tools and materials.

Step 2: Remove the broken glass. With safety equipment on, remove the old glass from the window. If it doesn’t come out easily, apply duct tape to it, then use a heat gun to soften the window glazing and lift the glass out in one piece.

Step 3: Measure the opening. Measure the height, width and depth of the opening carefully, and order a replacement pane slightly shorter in each direction, confirming the fit before moving forward.

Step 4: Insert the replacement glass. Insert the glass into the bedding and press down the perimeter with a putty knife, which compresses the glazing compound and beds the glass.

Step 5: Secure the glass. Apply a thin layer of glazing compound to the edge of the window frame and smooth it with a cloth or fingers.

Step 6: Clean up. Remove any leftover glass, smooth the glazing compound’s surface, and clean the glass with a lint-free cloth.

Step 7: Let the glazing compound dry. Allow 5 to 7 days for the compound to harden fully before painting the glazing and any exposed wood.

Step 8: Test the window. Open and close the window to confirm the glass fits properly and moves smoothly within the frame.

If You’d Rather Not DIY It.

Great Choice Glass has repaired and replaced foggy and failed-seal window glass across Calgary for 15+ years, 3,000+ jobs and counting. See window glass repair and replacement for what that service involves.

Great Choice Glass covers residential and commercial building glass across Calgary; see the full overview for everything the business handles.

Leave a Reply

Your email address will not be published. Required fields are marked *

15 − seven =